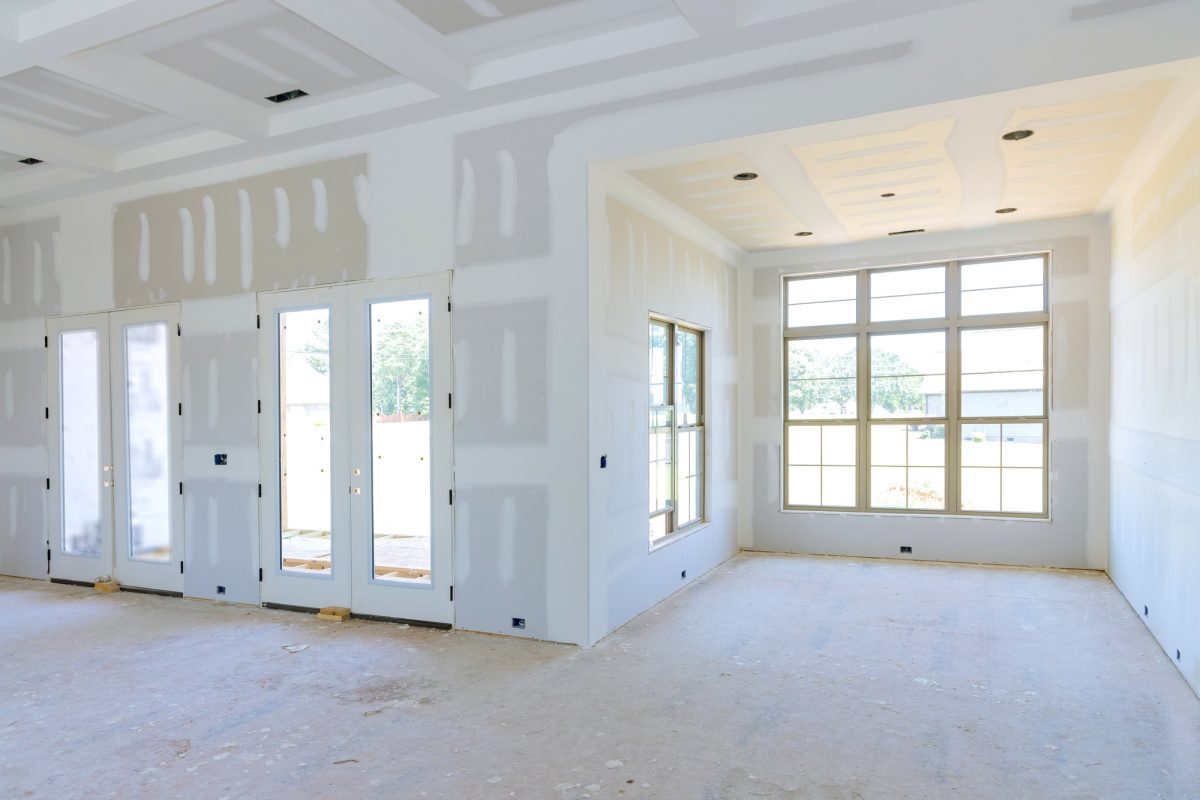
In installing drywall, a straightforward guide offers easy-to-follow instructions for finishing your walls or ceiling with smooth, durable surfaces. Here’s a simple guide to installing drywall from TurnKey Renovators, which takes you from the material selection phase to installation techniques to a clean, professional finish. Get started with these fundamentals with our experts, and you’ll be on your way to achieving extraordinary outcomes.
Gather your supplies, follow our steps, and build something you’ll be proud of. But why stress over the details? Let our skilled team handle the work for you—saving you time, effort, and worry. Reach out today and let’s get started.
With the right tools and materials, drywalling can be streamlined and professional. Your serious drywall toolkit – a thorough list of tools/ materials that includes every must-know about measuring, cutting, fastening, finishing, and safety, in a painless manner.
| Type of Drywall | Characteristics | Ideal Use |
|---|---|---|
| Standard 1/2-inch drywall | Lightweight, easy to work with | Living rooms, bedrooms |
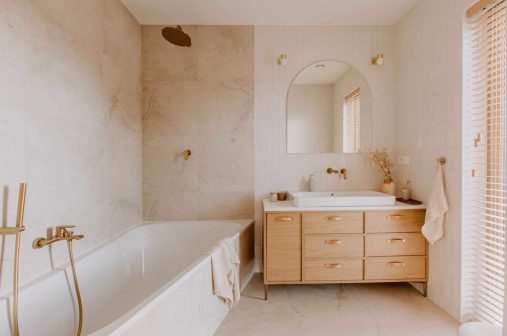
| Moisture-resistant drywall | Resists mold and humidity | Bathrooms, kitchens |
| Soundproof drywall | Reduces noise transmission | Home offices, studios |
Drywall screws and nails attach panels to the frame. Apply joint tape — mesh tape sticks to itself nicely — for smooth seams. Drywall compound fills and smooths taped joints. For minor repairs less than 1/2 inch, lightweight spackle is fine.
Dust masks will protect your lungs from the fine sanding dust you can make and should prevent health-related issues. Safety goggles will protect your eyes from debris while cutting or drilling. Gloves will protect you from the sharp edges or slips of the tool. When using a utility knife or saw, make sure you protect the floor with plastic sheeting that you can easily pick up to protect against damage caused by dust or spills.
3D rendering of a house interior under renovation works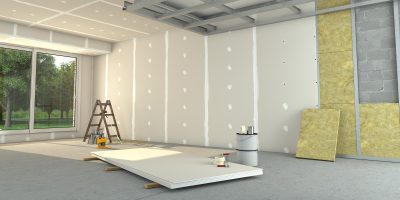
There are several steps to installing drywall, which need to be approached with control and a systematic plan. Planning means that you can achieve professional results and limit wastage. Below is a step-by-step guide.
Proper measurements are critical in terms of getting it wrong. Use a tape measure to measure the wall or ceiling space. Mark your measurements onto the drywall sheet using a pencil and a straight edge. Score the marked line with a utility knife, then snap the sheet clean. For cleaner edges, rasp the cut with a drywall rasp. This step is crucial for tight fits around corners or obstacles.
Begin with fastening the upper sheets. A drywall lift or a second person will hold the sheet. Hold the edges up against the wall framing, fitting them tightly. Leave a small space at the top for expansion, which prevents cracking. Use bugle head screws to fasten the sheet, spacing them 12-16 inches apart on your studs.
Fit the bottom sheets under the top ones. Set spacers or scrap wood on the floor to keep a consistent gap – this allows for settling. Drive screws from the center out to keep from bowing. Stagger the seams between the top and bottom sheets for additional strength.
Fasten the drywall to these studs every 12 to 16 inches. Do not overtighten, as the screw will pull the drywall paper. Check for any loose spots and add screws as necessary. Make sure the screw heads are slightly indented to allow for joint compound later.
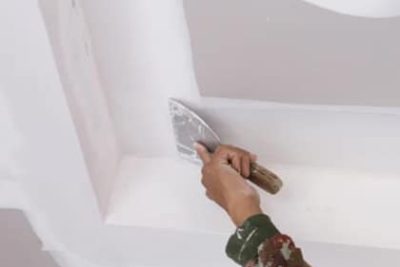
Make cuts in the panels for your windows, doors, and any outlets, with a spiral or keyhole saw. Measure twice and cut once! When cutting openings, use extra screws at the edges around your openings to add strength. You will use joint compound (or mud) to cover seams and screw heads, so you will want to apply three coats of mud and allow each coat to completely dry before sanding.
Hanging drywall may feel intimidating, but it can be easier than it looks, especially if you follow a few simple steps. If you take the time to measure carefully, hang each sheet flat on the wall, and finish with nice seams, you’ll save yourself time and avoid unnecessary trouble. With patience and the right approach, the results can look clean and professional.
And if you’d like professional assistance, TurnKey Renovators can take care of the entire drywall process, measuring, cutting, hanging, and finishing, so you get durable, flawless results. Contact us today, and let’s make your project hassle-free.